Luminar Neo Beginner Guide: AI-Powered Photo Editing in 2026
As an Amazon Associate, ExifGrabber earns from qualifying purchases.
What Is Luminar Neo?
Luminar Neo is a photo editing application built by Skylum that uses AI extensively to automate and simplify common editing tasks. It handles RAW processing, layer-based compositing, portrait retouching, sky replacement, and generative AI edits, all from a single interface. It runs on both macOS and Windows, with a mobile companion app for cross-device workflows.
For photographers coming from Adobe Lightroom or Capture One, Luminar Neo takes a fundamentally different approach. Instead of requiring you to learn sliders and masks from scratch, many of its tools analyze the image content and apply targeted adjustments automatically. You still have manual control over everything, but the starting point is often much closer to the final result.
As of 2026, Luminar Neo is available as a perpetual license (one-time purchase) starting at $99 for the desktop version. A cross-device perpetual license covering desktop and mobile costs $139, and the Max Perpetual license with web gallery hosting (Spaces) runs $159. There is no monthly subscription, which makes it one of the more cost-effective options in the photo editing space.
Installing and Setting Up Luminar Neo
Download the installer from Skylum's website. The application requires macOS 12 or later, or Windows 10/11 (64-bit) with at least 8GB of RAM. Skylum recommends 16GB for smooth performance with large RAW files and AI processing. A dedicated GPU is not strictly required but significantly speeds up AI operations.
After installation, you will be prompted to sign in with your Skylum account and activate your license. The initial launch includes a brief tutorial overlay that highlights the main workspace areas. You can dismiss this and return to it later from the Help menu.
The first thing to configure is your catalog location. Luminar Neo uses a catalog system similar to Lightroom to manage your photo library. Go to Luminar Neo > Preferences > General and set your catalog storage path. Place it on your fastest drive (preferably an SSD) for the best performance.
Understanding the Workspace
Luminar Neo's interface is divided into four main areas:
The Catalog panel on the left shows your imported folders and albums. You can add folders by dragging them in or using File > Add Folder. Luminar Neo reads from your existing folder structure without moving files, so your original images stay where they are.
The main canvas in the center displays your selected image at whatever zoom level you choose. Double-click to toggle between fit-to-screen and 100% view.
The editing panel on the right contains all adjustment tools organized into categories: Essentials, Creative, Portrait, and Professional. Each category expands to reveal individual tools.
The toolbar along the top provides access to crop, masking, layers, history, and export functions.
Your First Edit: The Essential Tools
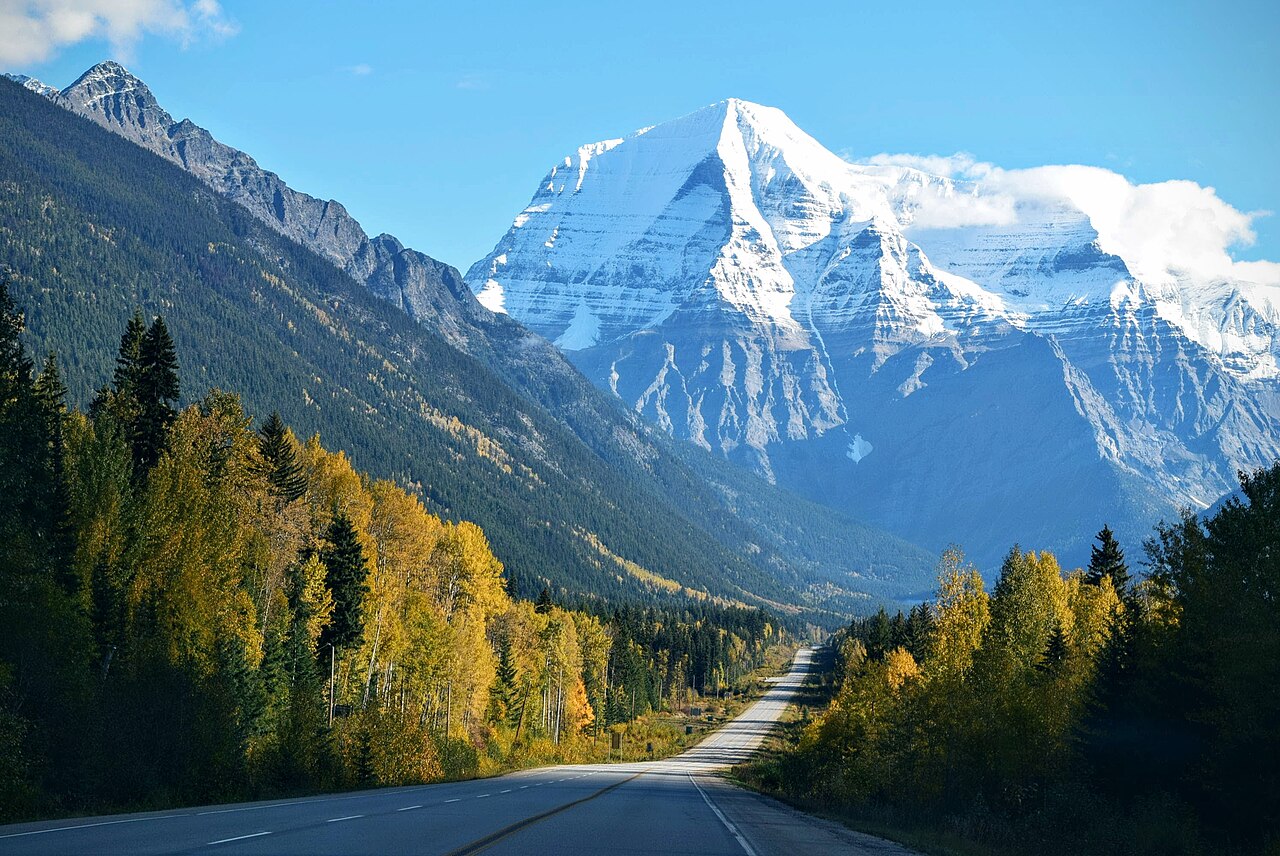
Start by importing a photo. Drag a folder of images into the catalog panel, then select one to edit. Here is a straightforward workflow using the core tools.
Step 1: Enhance AI
Open the Essentials category and find Enhance AI. This is Luminar Neo's one-click improvement tool. It analyzes the image and applies exposure, contrast, tone, and detail adjustments simultaneously. Drag the Accent slider to taste, usually between 40-70 gives natural results. The Enhance AI tool understands the difference between a portrait and a landscape and adjusts accordingly.
This single slider often gets you 70-80% of the way to a finished edit. From there, you refine specific areas.
Step 2: Light and Color
Below Enhance AI, the Light tool provides manual control over exposure, contrast, highlights, shadows, whites, and blacks. These work identically to Lightroom's basic panel. If Enhance AI pushed the highlights too far, pull them back here.
The Color tool offers saturation, vibrance, and HSL (hue/saturation/luminance) controls for individual color channels. For landscape images, boosting the blue luminance slightly can deepen skies without affecting other colors.
Step 3: Structure and Detail
The Structure AI tool enhances midtone contrast and detail. Unlike traditional clarity sliders that can create halos, Structure AI applies its adjustments based on detected content. It boosts detail in textures (rocks, foliage, architecture) while leaving skin and smooth surfaces relatively untouched.
For sharpening, the Sharpening tool in the Essentials section provides both standard unsharp masking and an AI-powered denoise option. Apply sharpening last in your workflow, and use the masking controls to exclude areas that do not benefit from additional sharpness.
Sky AI: Replacing and Enhancing Skies
Sky AI is Luminar Neo's most well-known feature, and it has improved significantly since launch. It detects the sky region in your image and either enhances it or replaces it entirely with a different sky from the built-in library or your own collection.
To use it, open the Creative category and select Sky AI. Choose a replacement sky from the dropdown. Luminar Neo automatically matches the lighting direction, color temperature, and horizon line of the new sky to your foreground. The blending is impressive in most cases, handling trees, buildings, and even fine hair against the skyline.
For best results, select a sky whose lighting direction roughly matches your original scene. A sunset sky works poorly on an image lit from the front at midday because the shadows will not match. The tool handles many of these mismatches well, but starting with a plausible match produces the most convincing results.
You can adjust the sky position, blur, brightness, and warmth after insertion. The Relighting slider is particularly useful. It adjusts the foreground lighting to match the mood of the new sky, warming shadows for a sunset or cooling them for an overcast replacement.
Portrait Retouching with Face AI and Skin AI
Luminar Neo's portrait tools are where the AI capabilities really shine for beginners. Rather than requiring you to manually dodge, burn, and frequency-separate, the software detects faces and applies targeted adjustments.
Face AI
Face AI detects individual faces in the image and provides per-face controls. You can brighten eyes, enhance iris color, remove dark circles, slim the face, and whiten teeth. Each adjustment has a strength slider, and the key to natural results is restraint: keep adjustments below 50% for most purposes.
The Spring 2026 update improved dark circle removal significantly, producing more natural transitions between corrected and uncorrected areas.
Skin AI
Skin AI smooths skin texture while preserving pores and fine details. It includes blemish removal, shine reduction, and an overall smoothing slider. The AI identifies skin areas and leaves hair, eyes, and clothing untouched.
For professional portrait work, start with Skin AI for broad smoothing, then use the Portrait Bokeh AI tool to blur the background. The 2026 update extends bokeh blurring to objects behind the subject, not just the area around the person, producing more realistic depth-of-field effects.
Body AI
Body AI allows subtle adjustments to body proportions. This is a sensitive tool and should be used with extreme caution and respect for the subject. It is designed for minor corrections like posture tweaks, not dramatic reshaping.
Generative AI Tools
The 2025-2026 updates introduced three generative AI features that set Luminar Neo apart from traditional editors.
GenErase
GenErase removes unwanted objects from images and fills the gap with AI-generated content that matches the surrounding area. It works well for removing power lines, trash cans, photobombers, and other distractions. Select the object with a brush, click Erase, and the AI fills the space. For best results, work on one object at a time rather than trying to remove multiple elements simultaneously.
GenSwap
GenSwap lets you select an area of the image and replace it with something else using a text prompt. For example, you could select a plain wall behind a subject and prompt "brick wall with ivy" to generate a textured background. Results vary in quality, and this tool works best for backgrounds and non-critical image areas rather than primary subjects.
GenExpand
GenExpand extends the edges of your image beyond the original frame. This is useful when a composition is slightly too tight or when you need to change the aspect ratio without cropping. The AI generates plausible content that continues the scene. It works best with natural landscapes and simple backgrounds, and struggles with complex architectural scenes or repeating patterns.
Layers and Masking
Luminar Neo supports a simplified layer system. You can add adjustment layers, texture overlays, and even additional images as layers. Each layer has opacity and blending mode controls.
The masking system has improved substantially. You can create masks using brushes, gradients, luminosity ranges, and AI-based selections (subject mask, sky mask, background mask). The Spring 2026 update added a Mask Feather tool that smooths mask edges, which was a long-overdue addition.
For landscape photographers, the luminosity masking is particularly powerful. You can target adjustments to specific tonal ranges (just the highlights, just the shadows) without creating manual masks. This makes techniques like darkening bright skies while boosting shadow detail much faster than traditional methods.
Light Depth and Other Advanced Tools
The Light Depth tool, introduced in late 2025, adjusts the apparent lighting in a scene after capture. It analyzes the 3D structure of the image and lets you relight it as if the sun were in a different position. This is not a simple gradient overlay. The tool understands depth relationships and applies lighting changes that follow the contours of the scene.
The Atmosphere AI tool adds fog, mist, or haze to a scene. It detects depth and applies the atmospheric effect more heavily to distant elements, creating a realistic sense of depth. This works particularly well with forest scenes and mountain landscapes.
Photo Restoration uses AI to repair old, damaged photographs. It can remove scratches, fix discoloration, and sharpen faces in scanned prints. The results are not perfect, but they provide a strong starting point for more detailed manual restoration work.
RAW Processing Quality
Luminar Neo handles RAW files from all major camera manufacturers, including Nikon NEF, Canon CR3, Sony ARW, Fujifilm RAF, and Adobe DNG. The RAW processing engine has improved over successive updates, and in 2026 it produces results competitive with Lightroom for most use cases.
Color rendering from RAW files is slightly different from Lightroom's interpretation of the same files. Neither is inherently better; they are different starting points. If you are switching from Lightroom, expect to adjust your approach to white balance and color grading slightly.
One advantage of Luminar Neo for beginners is that EXIF data from your camera is fully preserved in the editing workflow. Your original camera settings, lens data, and GPS coordinates remain embedded in exported files. You can verify this by running your exported images through ExifGrabber to confirm all metadata is intact.
Exporting Your Work
To export a finished image, click the Export button in the top toolbar. Luminar Neo supports JPEG, PNG, TIFF, and PSD output formats. For web use, JPEG at quality 85-90 provides the best balance of file size and image quality. For print, export as TIFF (16-bit) to preserve the maximum tonal range.
The export dialog lets you resize images, set color space (sRGB for web, Adobe RGB or ProPhoto RGB for print), and choose the file naming convention. You can also create export presets for workflows you repeat frequently.
Luminar Neo vs. Lightroom: Which Should You Choose?
This is the question most beginners ask. Here is a practical comparison.
Luminar Neo is the better choice if you want fast, AI-assisted edits with minimal learning curve, if you prefer a one-time purchase over a monthly subscription, if sky replacement and generative AI tools are important to your work, or if you edit photos occasionally rather than managing a large professional library.
Lightroom is the better choice if you manage thousands of images and need robust cataloging with smart collections and filters, if you need precise color management and soft-proofing for print, if you rely on a large plugin ecosystem and Photoshop integration, or if you work in a professional team that standardizes on Adobe tools.
Many photographers use both: Luminar Neo as a plugin within Lightroom for AI-specific tasks like sky replacement and portrait retouching, while keeping Lightroom as the primary catalog and RAW processor.
Tips for Getting Better Results
Start with Enhance AI and refine from there rather than building up from scratch. The AI provides a better starting point than default settings.
Use the comparison view (before/after toggle in the toolbar) frequently. It is easy to over-edit when you are staring at an image for minutes. The comparison resets your perception.
Learn the keyboard shortcuts. E for Enhance AI, L for Light, C for Color, and the bracket keys for brush size adjustment will speed up your editing significantly.
Apply edits to similar images using the copy/paste adjustments feature. Edit one image from a set, then paste those adjustments to the rest. This is especially useful for event and travel photography where lighting conditions are consistent across a batch.
Check that your exported files retain proper EXIF metadata, especially if you are uploading to stock photography sites or maintaining a searchable archive. Use ExifGrabber to verify the metadata in your exported files.
System Requirements and Performance
| Requirement | Minimum | Recommended |
|---|---|---|
| macOS | 12.0+ | 14.0+ |
| Windows | 10 (64-bit) | 11 (64-bit) |
| RAM | 8 GB | 16 GB |
| Storage | 10 GB free | SSD with 20 GB+ |
| GPU | Integrated | Dedicated (4 GB+ VRAM) |
| Display | 1280x768 | 1920x1080+ |
AI-heavy operations (sky replacement, generative tools, portrait AI) benefit the most from additional RAM and a dedicated GPU. On a system with 8 GB RAM and integrated graphics, expect these tools to take 5-15 seconds per application. With 16 GB RAM and a dedicated GPU, the same operations complete in 1-3 seconds.
The Bottom Line
Luminar Neo has matured into a genuinely capable photo editor that offers something Adobe's ecosystem does not: a simple, AI-first workflow at a one-time cost. The Spring 2026 updates addressed many of the earlier complaints about portrait tools and masking, and the generative AI features add creative possibilities that traditional editors lack.
For beginners, it is arguably the most approachable serious photo editor available. The AI tools let you produce polished results while you learn the underlying concepts. For experienced photographers, it works best as a complement to an existing workflow, handling the tasks where AI provides a genuine speed advantage.
At $99 for a perpetual desktop license, it is worth trying even if you end up using it alongside another editor.